It doesn’t seem that there are significant differences between the guidelines for beginners and professionals if you consider them broadly. However, I know I should present every guideline to the novice in detail so that they can grasp every aspect of a specific skill.
Throughout this article, I will describe detailed guidelines about eCommerce Product Photo editing for aspiring designers. You will learn here what the particular editing type is and how it is done.
You will be able to learn how to use Photoshop, its tools, filters, and options practically through the content. When you read and apply the steps listed here, you’ll be able to work in Photoshop like a pro. I hope you find this helpful.
If you follow the proper tips and steps for eCommerce product photo editing, your clients will be delighted and give you a soft kiss for outstanding results.
Most professional photo editors use Adobe Photoshop to enhance image quality, so you will enjoy the Photoshop tutorials explored here; I think you are a Photoshop enthusiast.
Remove Background from Image?
eCommerce giants prefer white backgrounds on product images, as clean images generate a higher click-through rate than messy backgrounds. White backgrounds make product details stand out more.
Because of this, the demand for product image background removal is increasing day by day.
Although photographers often use a white cloth or sheet behind the product during photo shooting, they cannot capture images with a perfect white background when using high-configuration DSLR cameras. Any white objects behind the product also enhance the contrast. You can learn more about cloth photography in this article from Image.
Although the images have white backgrounds, they do not comply with the eCommerce marketplaces. The backside needs to be removed. This is why Photoshop is used to remove the background.
experts to remove backgrounds are:
- Professionals prefer pen tools. This allows them to create paths as needed.
- The Lasso tool works best for images with straight edges.
- Round images work well with the Quick Selection tool.
- It selects the edge of the image magically with the Magic Wand tool.
- When selecting an edge of an image by masking it, the brush tool works best.
Photoshop tools are terrific for removing the background from a product image or isolating the image from it. Ecommerce photo editing services also need these Photoshop tools used for photo editing.
- In Photoshop, open the image you wish to remove the background from. The ice-cream image I used for this tutorial is a testy one.
This guideline uses a convenient product image, but you should practice with different types of product photos so that you never fail to meet the needs of your clients.
- From the left toolbar, select the Pen tool.
How does the pen tool work? The flexible nature of this tool makes it popular among photo editing professionals. It has easy-to-use options that make it easy to use.
- Zoom in on the image as much as you need, between 200% and 300%.
Zooming in is why? Zooming in at this larger range will help you see the edge and cross the borderline clearly. Low-quality product photos cannot be enlarged. They will become distorted.
- Around the product image, create a path.
To create a path around the product photo, you need a keen eye and patience as a beginner. It will take some time. Keep clicking 1 or 2 pixels inside the image to ensure you do not miss any background pixels.
I know it sounds odd to create a path inside a product image. Exactly, that’s the way to do it. After zooming out an image, it will no longer be affected by clipping the image edge. On the contrary, it allows the clipping path to be perfect. jewelry retouching services are one of the best services created for the path.
- To create a selection, press Ctrl+Enter after finishing the path creation.
When you create a path, stop it once you reach the starting point. The path will cross the image border. When you press the Ctrl+Enter key from your keyboard, you will see moving and blinking dashes or dots. It means that your path has converted into selection.
- Ctrl+Shift+I will invert the selection.
You will lose the product image instead of removing the background when you click on the Delete button when you get the selection, it only selects the image. The background has to be selected if you want to cut it out. Invert the selection.
- Delete the background by clicking the Delete Button.
You can see that the background has been selected after inverting the selection. A transparent background will appear when the background is removed. As long as it won’t be placed on any surface, you can keep the image with a transparent background.
- A transparent background will appear. Choose any background you want.
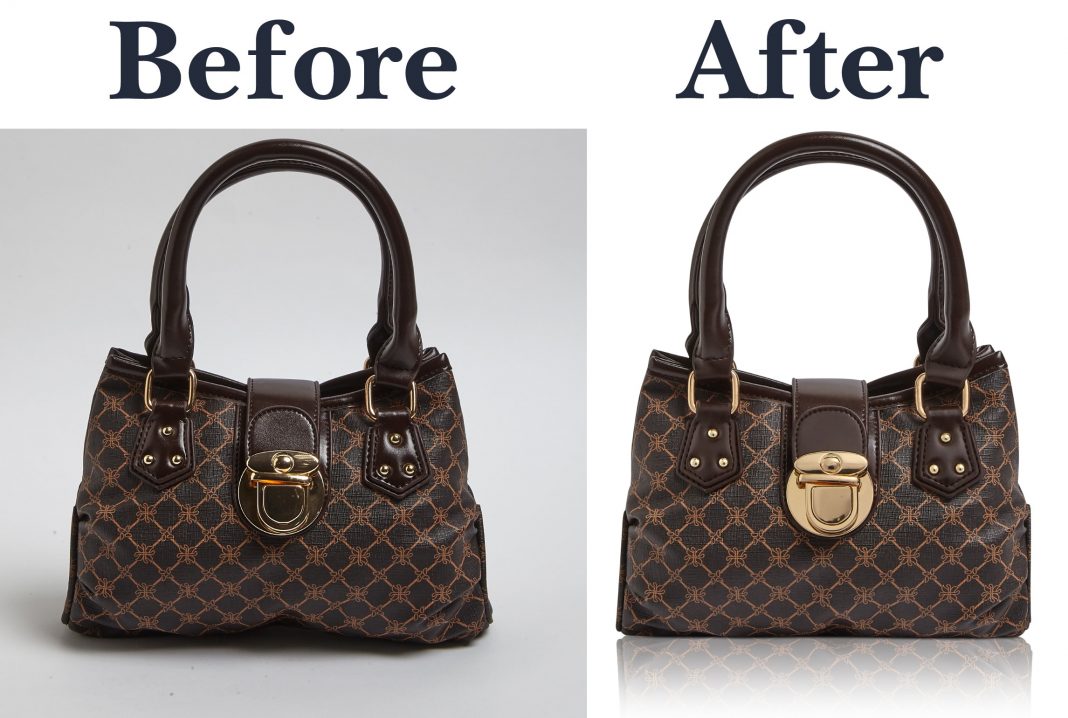
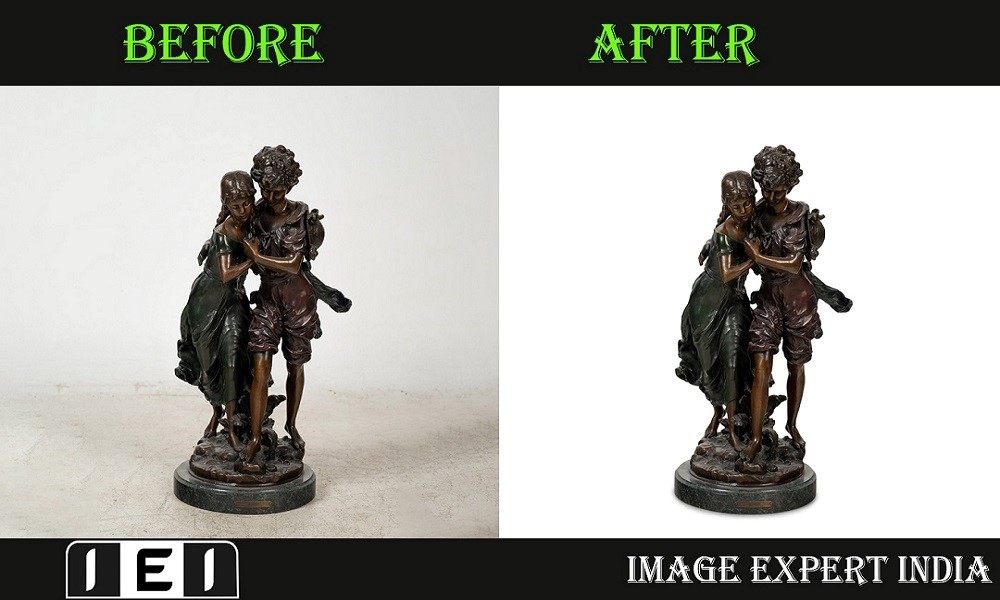
Below is a snapshot of a transparent white background with a white background. It is possible to use other colored backgrounds if needed. A white background is often requested by your clients, such as product photographers or eCommerce business owners. You can add different background colors, in the same way, I removed the background and added a white background.
All that’s left is to remove or replace the background.


